Apple Pay Arrives on Shopify: How to Use it and Why it’ll Boost Sales
Posted by Andy Thorburn
13th October 2016
Few payment gateways have launched with as much fanfare as Apple Pay did back in 2014, however, it didn’t last long. The resistance by major key banks in the UK as well as teething problems with other banks resulted in low availability and subsequently low adoption rates. However, Apple have seen the issues with global adoption and have expanded on their service by, yet again with much fanfare, bringing their payment gateway to the Web. With Shopify’s integration, this means that anyone with a Shopify store can now accept Apple Pay transactions. Below we’ve outlined how to enable your store to receive Apple Pay, and why you should.
What is Apple Pay?
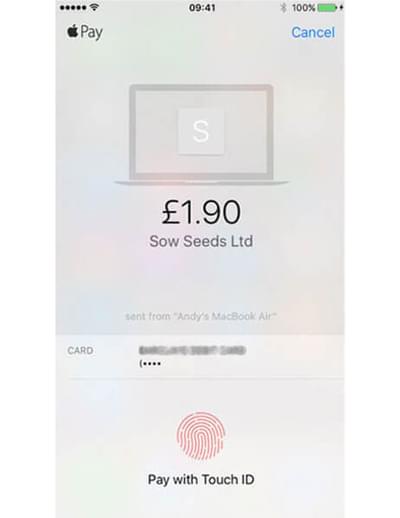
Apple Pay is a payment gateway that was originally released as a contactless payment system. It makes use of Apple’s fingerprint scanning technology, Touch ID, making it more secure than contactless cards. To add to that security, Apple Pay does not hand over card details to merchants, but rather uses a Device Account Number that can only be used with a specified device.
Why should Shopify retailers accept Apple Pay?
In short: increased speed, convenience, and customer’s security mean fewer abandoned baskets and more revenue.
Security
Apple Pay uses a tokenisation system that generates a specific code, or token, for each transaction as well as assigning a Device Account Number for each individual card. This means that customer card details are never shared with merchants. The card details are stored in the iOS device’s Wallet app that utilises a Secure Element chip to ensure that the information cannot be stolen. When you consider that an estimated £261.5m of e-commerce fraud took place in 2015 (that’s 46% of all card fraud), the 13% of basket abandonment due to security concerns is understandable. For merchants, this token code is used to verify the payment from the purchaser’s card to the merchant store account.
Ease
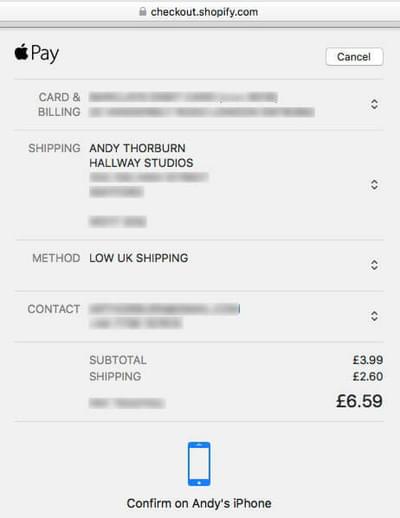
25% of baskets abandoned in 2015 were due to websites being too complicated. In addition, 29% of a survey group said that being forced to sign up for an account led them to abandon their purchases. The Apple Pay process is considerably simpler with shipping details, billing address and card details already set to defaults for each card through the Wallet app. These functions are easy to change with presets for home and work as well as custom options, effectively eliminating two stages of the standard Shopify checkout process. A Shopify store with both optional Customer Accounts and Apple Pay enabled allows customers to checkout in just two clicks or taps, compared to the relative torture of entering card details and shipping addresses.
Speed: Apple Pay vs Credit Card
All this talk of Apple Pay vs regular credit card transactions had us yearning to do a side by side comparison. So we did.
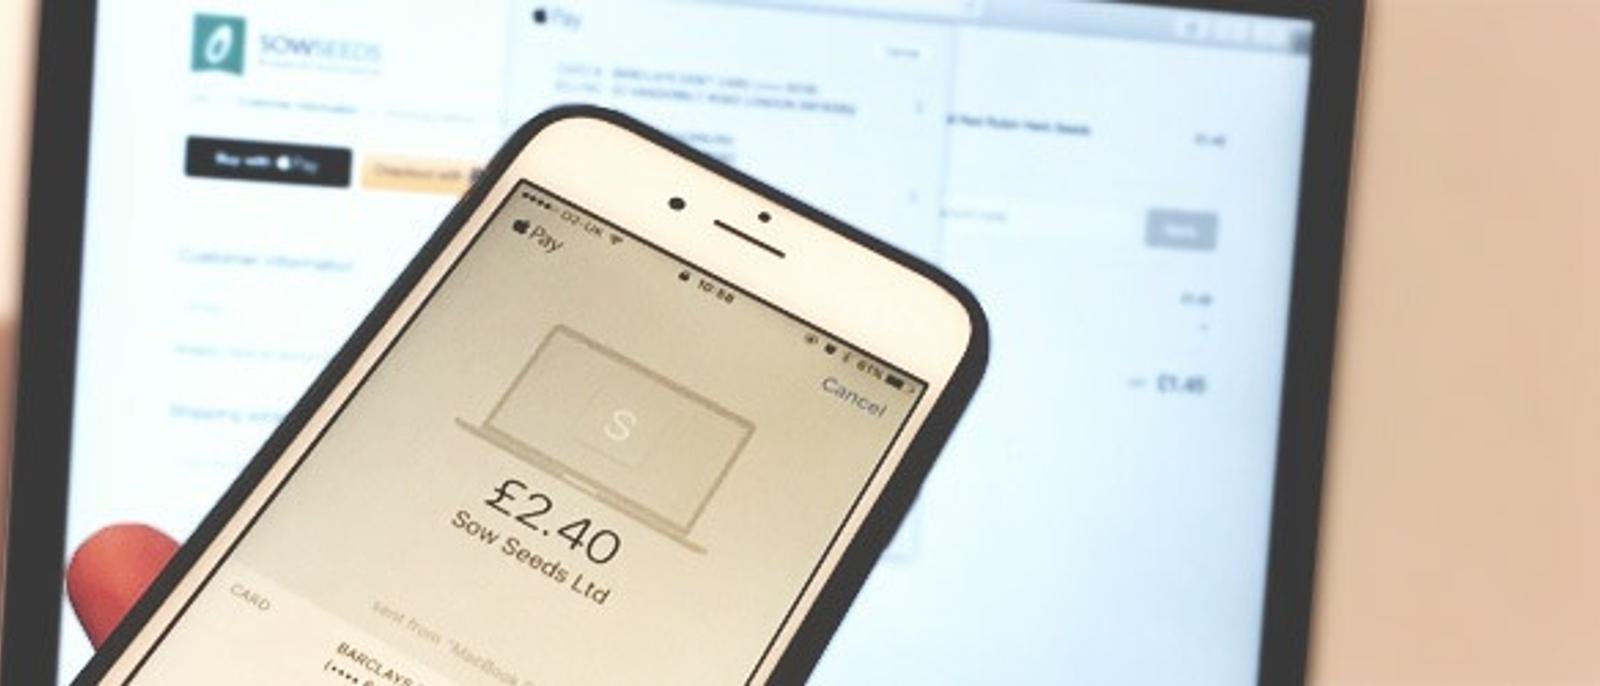
Through the traditional Shopify checkout on desktop, it was more than 3 times faster to check out with Apple Pay (29.26s) over a credit card (1m 50.43s). This was timed from the moment we clicked the checkout button through to completion. But the results were even more promising on mobile where using Apple Pay was 5 times faster than using a credit card (30.01s VS 2m 38.25s). Within seconds of authorising the transaction with TouchID, we had received a Wallet notification confirming the purchase.
How to enable Apple Pay in your Shopify store:
Now that you can see the benefits of accepting Apple Pay in your Shopify store, make sure you meet the requirements and follow the instructions below to enable it:
Apple Pay has separate requirements for buyers and sellers.
For buyers:
On Desktop:
- Users must have a card authorised for Apple Pay in their Wallet app
- Be using Safari 10 with macOS Sierra
- Be signed into the same Apple ID as on their iPhone, iPad or Watch.
- Have bluetooth enabled on their mac.
On mobile:
- Users must have a card authorised for Apple Pay in their Wallet app.
- Be using Safari on a compatible device with iOS 10.
For merchants:
In order to enable Apple payments, you must meet the below list of requirements:
- You will need to be using one of the following payment gateways:
- Shopify Payments
- Stripe
- First Data
- Payeezy
- Authorize.net
- CyberSource
- An SSL certificate must be activated
- Customer accounts must be disabled or set as optional
- Your store must comply with Apple’s Apple Pay Acceptable Use Guidelines
If you meet the above requirements, then move on to the below steps:
1. From your Shopify Admin, click Settings then Payments.


2. In the Payment Gateway section click Edit

3. In the Digital Wallets section, tick the box for Apple Pay

4. Click Save
With your Shopify store now able to take Apple Pay payments, your customers will benefit from the convenience and peace of mind that come with it and subsequently you should see a steady decline in abandoned baskets and increase in sales.
Not on Shopify yet? Sign up for a free trial, or get in touch if you’d like to discuss how we can help you get the ball rolling.